How to Hem Pants Without a Sewing Machine
Step-by-step instructions for measuring, pressing, and hand-hemming trousers, slacks, and casual pants using an elastic blind catch stitch.
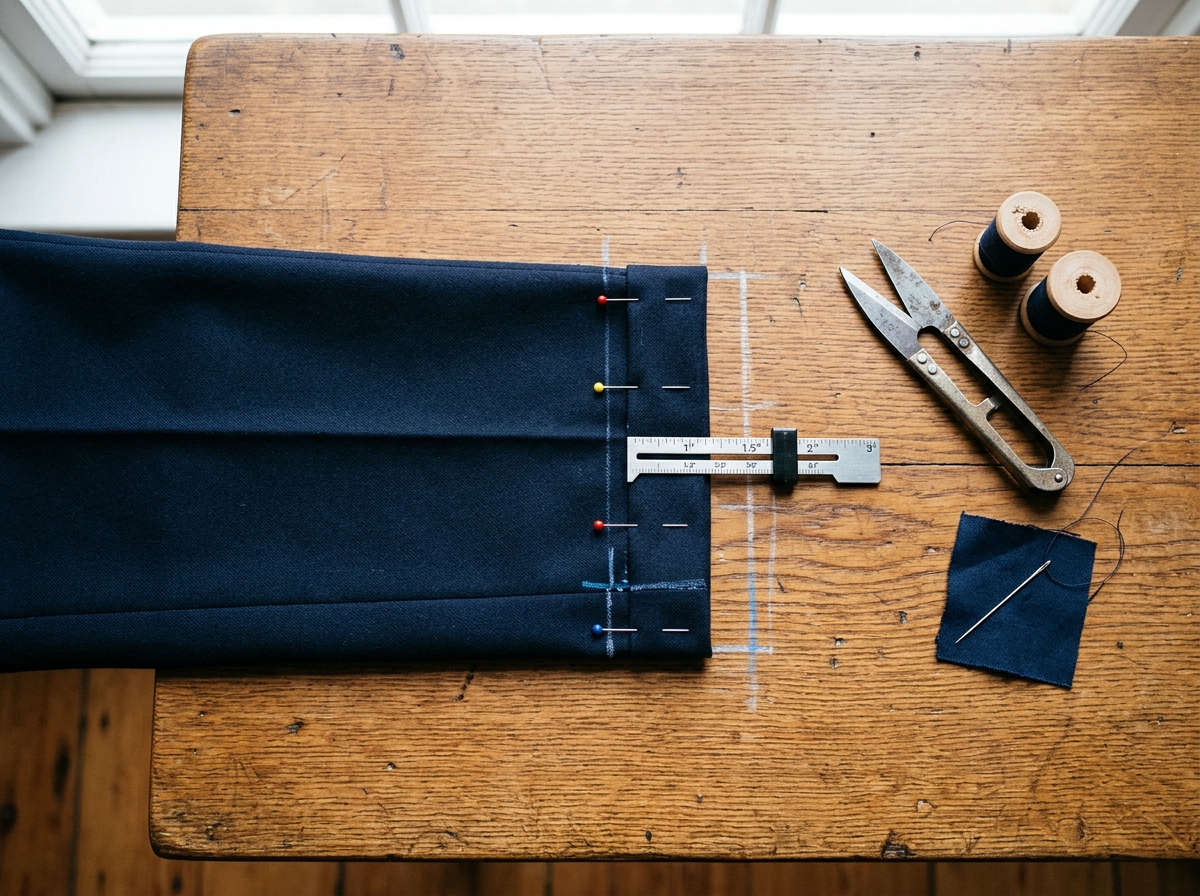
Off-the-rack trousers and slacks rarely match personal inseam measurements precisely. Having pants shortened by an alteration tailor is common, but learning to hem trousers by hand is an empowering skill that produces clean, resilient, and virtually invisible results using only basic household sewing tools.
The key to a professional hand hem is the tailor's blind catch stitch (herringbone stitch). Unlike a rigid straight stitch, the catch stitch creates an elastic zigzag between the garment and the hem fold, allowing the fabric to drape and flex naturally as you walk. In this guide, you will learn how to measure the break, calculate hem allowances, and secure the hem without visible stitching on the outside.
Materials Required
- Matching polyester sewing thread: Carefully matched to the exterior trouser fabric color.
- Sewing pins: Fine dressmaking pins to secure the fold evenly around the leg circumference.
- Tailor's chalk or fabric marking pencil: For marking fold and trim lines on the reverse side of the cloth.
- Fusible hem tape (optional fallback): Useful for quick temporary alterations on lightweight cottons, though hand stitching provides superior drape and durability.
Tools Needed
- Sliding sewing gauge or acrylic ruler: Essential for measuring consistent hem allowances around the leg.
- Hand sewing needle: Size 7 or 8 sharp needle with a slender tip.
- Steam iron and press cloth: Critical for setting crisp, sharp fold creases without scorching wool or synthetic blends.
- Fabric shears: Sharp shears for cutting fabric cleanly if trimming excess allowance is necessary.
Step-by-Step Instructions
Measure and Chalk the Finished Fold Line
Using your sewing gauge, measure the exact distance from the original factory hem to your pinned fold line. Measure this distance at several points around both legs on the inside of the fabric, and draw a continuous, level line using tailor's chalk.
Determine Hem Allowance and Trim Excess
Determine your hem allowance depth based on garment type. For tailored dress slacks, a generous 1.5 to 2-inch (4 to 5 cm) allowance provides proper weight and graceful drape. For casual chinos or lightweight trousers, a 1 to 1.5-inch allowance is standard. Measure your chosen allowance below the chalk fold line, draw a cut line, and carefully trim away excess fabric with sharp shears. If shortening by less than 1.5 inches total, you do not need to cut fabric at all—simply fold the existing hem upward.
Fold and Press the Hemline Crease
Fold the hem allowance up into the leg along your chalk line. Pin every 2 to 3 inches. Using a steam iron and a protective pressing cloth (especially for wool or synthetic fabrics), press the fold firmly to set a sharp crease around the bottom rim.
Anchor the Thread in the Hem Allowance
Thread your needle with a single strand of matched thread (about 24 inches long) and tie a knot at the end. Working with the trouser inside out, anchor the knot inside the upper fold of the hem allowance so it is completely hidden. If right-handed, you will stitch from left to right while pointing your needle toward the left.
Execute the Alternating Blind Catch Stitch
Take a microscopic horizontal bite of just 1 or 2 threads from the trouser body fabric just above the hem allowance. Pull through gently. Next, move roughly 3/8 inch to the right and take a slightly firmer bite through the hem allowance only. Repeat this alternating pattern around the leg circumference.
Secure the Knot and Final Steam Press
When you return to your starting point, overlap two stitches and tie off with a small double knot in the hem allowance fold. Turn the pants right-side out and press the hem with steam using a damp press cloth.
Common Mistakes & Solutions
Catching too much fabric on the exterior trouser layer
Why it happens: Produces visible dots, dimples, and pulled threads across the outside of the pant leg.
Correction: Catch only 1 or 2 threads of the outer garment weave with the very tip of your needle.
Cutting away excess fabric before verifying the folded length
Why it happens: If the measurement was off, the pants become permanently too short.
Correction: Press and try on the folded hem with pins before cutting any cloth.
Pulling the catch stitch too tightly
Why it happens: Creates a horizontal ridge around the calf that puckers while walking.
Correction: Maintain light, elastic thread tension so the stitches float inside the hem.
Frequently Asked Questions
Can I use iron-on fusible hem tape instead of hand sewing?
Fusible hem tape (like Stitch Witchery or Wonder Under) is a convenient option for quick alterations on sturdy cotton chinos. However, it can leave a stiff, inflexible band on tailored wool dress pants and may weaken after repeated laundering. Hand sewing provides superior drape and can be undone or altered at any time without residue.
How do I handle hemming heavy denim jeans without a machine?
Denim has very thick side seams that can bend hand needles. When hemming jeans by hand, many prefer using heavy-duty topstitching thread with a thimble and size 16 sharp needle, or folding and catching behind the original distressed factory hem (the "original hem" method).
Why should trousers have a slight slant from front to back?
Tailored trousers look best when cut with a slight downward slant toward the heel (about 1/2 inch longer at the back than in front). This accommodates shoe heel height in the back while preventing excessive pooling of fabric over the front instep.