How to Make Fabric Flowers for Clothing and Accessories
Step-by-step tutorial to craft dimensional fabric blossoms from scrap cotton, linen, and silk ribbons to embellish jackets, hats, bags, and lapels.
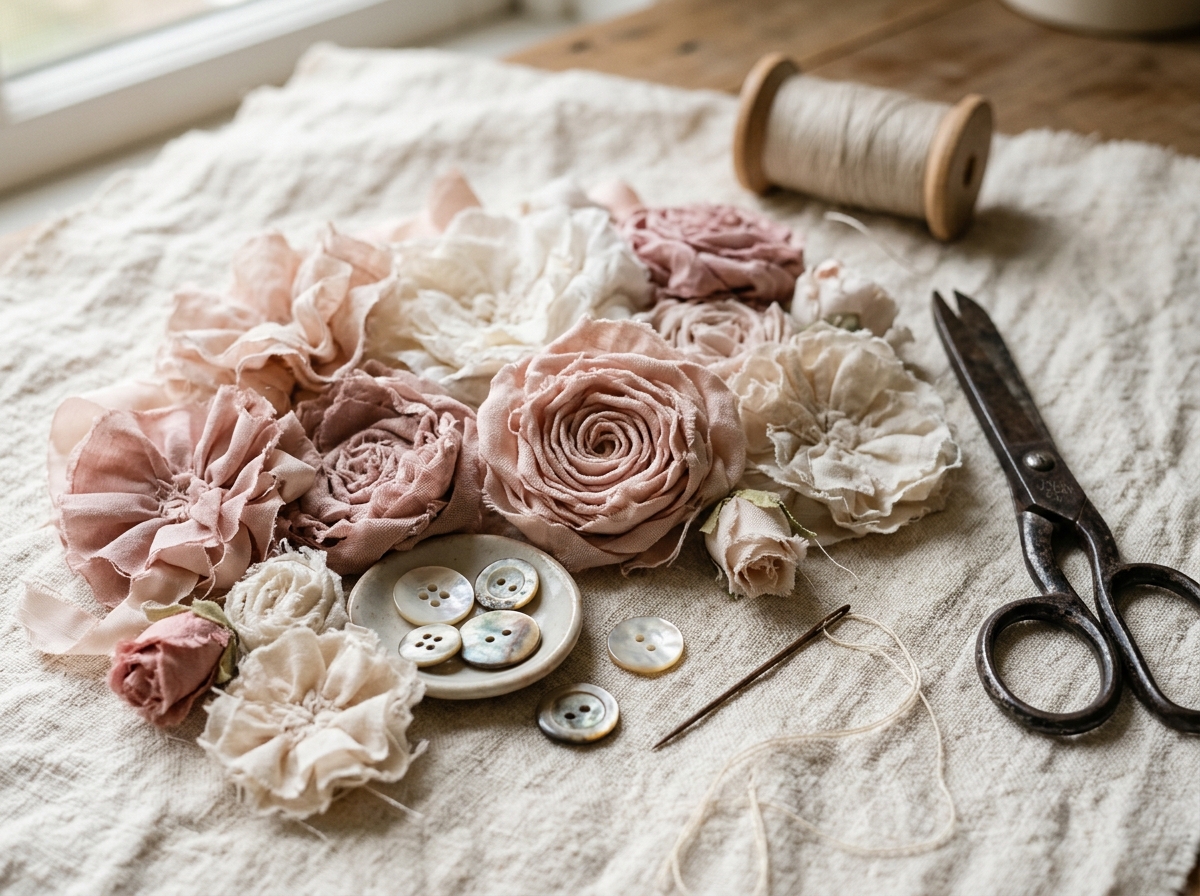
Handcrafted fabric flowers provide a creative, sustainable method for transforming leftover textile remnants into wearable embellishments. Whether used to disguise a tiny fabric flaw, accent a lapel, or elevate a handmade tote bag, fabric blossoms add dimensional texture that mass-produced accessories cannot match.
In this tutorial, you will construct a gathered petal rosette using hand stitches. This versatile method works with medium-weight cottons, soft linens, or lightweight silks. Unlike glued crafts that crack or wash out in laundry, a properly hand-stitched fabric flower remains flexible, washable, and durable.
Materials Required
- Fabric scraps (cotton, linen, or silk): A strip 3 inches wide by 24 inches long (7.5 × 60 cm) or assorted circular scraps.
- Center embellishment: A vintage button, wooden bead, or embroidered French knot. Safety note: for baby or toddler clothing, use embroidered knots rather than small buttons to prevent choking hazards.
- Hand sewing thread: All-purpose polyester thread matched or softly contrasting with your fabric.
- Felt circle backing: A 1.5-inch diameter circle of wool or craft felt to stabilize the underside of the flower.
- Brooch pin bar (optional): For removable attachment to jackets, cardigans, or tote bags.
Tools Needed
- Hand sewing needle: Size 7 or 8 sharps or embroidery needle.
- Fabric shears or pinking shears: Pinking shears create a decorative zig-zag petal rim that naturally limits fraying.
- Household iron: To press the fabric strip into a crisp or soft fold.
Step-by-Step Instructions
Sew the Gathering Running Line
Starting at one end of the folded strip, insert your needle through both raw bottom edges. Sew a simple running stitch (roughly 1/4-inch long stitches) approximately 1/8 inch away from the raw edge along the entire length of the strip.
Gather the Strip into Petal Ruffles
Hold the knot at one end securely with one hand, and gently pull the working thread from the other end. The folded fabric strip will condense into soft, organic ruffles.
Spiral and Form the Blossom Core
Beginning with the inner end of your gathered strip, roll it inward into a compact spiral to form the blossom center. Continue coiling the gathered ruffle around the center, allowing the outer layers to sit slightly looser to create blooming outer petals.
Secure the Base with Hand Stitches
Turn the flower upside down. Pass your threaded needle through all layers of the base in a starburst pattern, catching the raw edges and securing the coiled spiral together firmly. Glue is not necessary; several passes of needle and thread through the base layers create a washable, flexible bond.
Attach the Center Accent and Felt Base
Bring the needle up through the center of the blossom to attach your button or bead, stitching it firmly in place. On the underside, hand-stitch a 1.5-inch circle of wool felt over the base stitches to enclose raw fabric edges.
Fluff and Shape the Petals
Gently tease open the petal folds with your fingers. For natural linen or raw cotton, you can lightly brush the petal edges to create a soft, rustic fringe.
Common Mistakes & Solutions
Using hot glue or rigid adhesives instead of hand stitching
Why it happens: Glues dry rigid, discolor fabric over time, and crack or peel away during washing.
Correction: Use needle and thread for flexible, washable, and long-lasting assembly.
Coiling the spiral too tightly throughout
Why it happens: Produces a dense lump with no petal separation.
Correction: Keep the center coil compact, but relax your spiral tension as you move to the outer petals.
Using small buttons on baby or toddler clothing
Why it happens: Small hard buttons can present a choking hazard if detached by infants.
Correction: Use embroidered French knots or soft fabric centers on children's apparel.
Frequently Asked Questions
Which fabrics work best for beginner fabric flowers?
Medium-weight natural wovens like cotton quilting remnants, linen, and cotton lawn are easiest to handle because they hold folds well and do not slip excessively during gathering. Delicate silks and organzas create lovely ethereal blossoms but require slower handling.
Are handmade fabric flowers washable?
If constructed entirely with hand stitching (no glue) and washable natural fibers, they can be gently hand-washed in cool water and air-dried. For delicate silks or elaborate brooches, mounting the flower to a brooch pin allows removal before laundering.
How do I attach a fabric flower permanently to a garment or bag?
Position the felt-backed flower on your garment and take small whipstitches through the perimeter of the felt backing into the garment fabric, keeping stitches hidden beneath the petal ruffles.