How to Measure Yourself for Sewing Patterns
Accurate anatomical measurement guidelines, understanding ease, avoiding common posture errors, and blending multi-size sewing patterns.
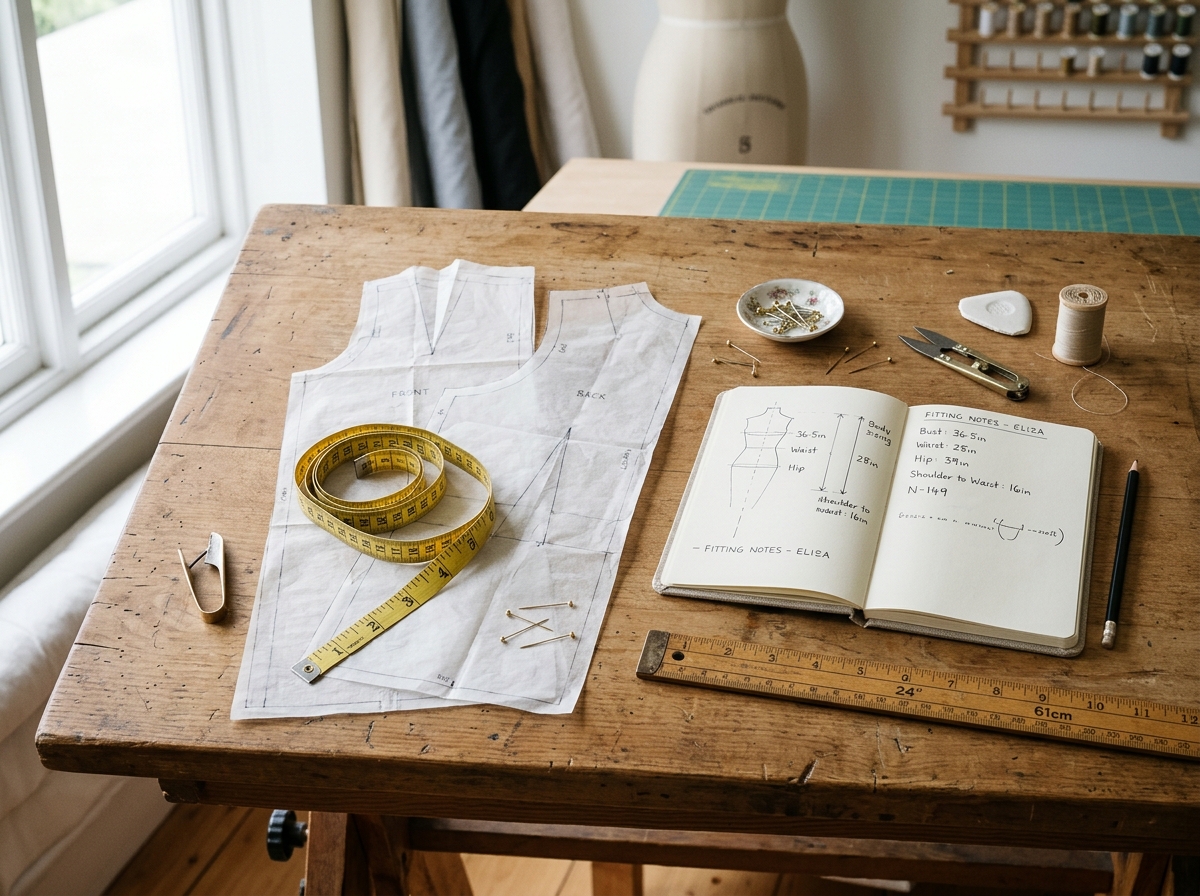
One of the most frequent surprises for new garment sewists is discovering that sewing pattern sizes rarely correspond to commercial ready-to-wear clothing sizes. If you purchase a size 8 in retail stores, you might sew a size 12 or 14 in traditional commercial patterns, or a completely different size in indie designer charts. Sizing varies considerably between pattern companies because there is no universal sizing standard.
Achieving handmade garments that fit comfortably requires accurate, repeatable body measurements. In this guide, you will learn how to locate true anatomical landmarks, understand the critical difference between wearing ease and design ease, and blend smoothly across multi-size pattern lines.
Materials Required
- Flexible fiberglass or vinyl measuring tape: Use a quality tape that does not stretch over time. Avoid cloth tapes that have warped with age.
- Narrow elastic or ribbon: Tied around the waist to pinpoint the true anatomical waistline.
- Measurement tracking log: To record measurements alongside the date and undergarments worn.
Tools Needed
- Full-length mirror: Essential to confirm the tape remains parallel to the floor across your back.
- Pen and notepad: To note down numbers immediately without relying on memory.
Step-by-Step Instructions
Measure High Bust and Full Bust
For High Bust, wrap the tape directly under your armpits, straight across the shoulder blades in back, and above the bust swell in front. For Full Bust, measure around the fullest projection of the bust apex, keeping the tape level across your back.
Measure the Natural Waist
Measure around your torso directly over the elastic guide. Keep one finger between the tape and your body to ensure the tape is not pulled too tight. Record the measurement after exhaling naturally.
Measure High Hip and Full Hip
For High Hip, measure around the top of your pelvic bones (roughly 3 to 4 inches below the waist). For Full Hip, measure around the widest circumference of your buttocks and hips (typically 7 to 9 inches below the waist).
Measure Back Waist Length and Inseam
For Back Waist Length, measure from the prominent bone at the base of your neck (C7 vertebra) down the center of the spine to your waist elastic. For Inseam, measure from the crotch point down to the floor along the inner leg, or measure a pair of well-fitting trousers laid flat.
Understand Body Measurements vs. Finished Garment Measurements
Pattern envelopes display two distinct measurement tables: "Body Measurements" (the anatomical dimensions the pattern is drafted for) and "Finished Garment Measurements" (the actual dimensions of the cut fabric including ease). The difference between the two numbers is ease. Wearing ease allows basic movement and breathing; design ease creates the specific silhouette (e.g. relaxed, fitted, oversized).
Select and Blend Across Multi-Size Lines
Few bodies fit into a single size column. If your bust falls in size 12, waist in size 14, and hips in size 16, trace between size lines on your pattern sheet, curving smoothly from the underarm down through the waist to the hips.
Common Mistakes & Solutions
Selecting pattern size based on ready-to-wear retail store size
Why it happens: Garment frequently ends up 1 to 2 sizes too small because commercial pattern drafting scales differ from retail vanity sizing.
Correction: Select sizes strictly based on your actual tape measurements.
Pulling the measuring tape tightly against the body
Why it happens: Generates artificially small measurements, leading to garments that restrict breathing and sitting.
Correction: Let the tape lie smoothly on the skin without indenting soft tissue.
Measuring over bulky everyday clothing
Why it happens: Can add up to 2 inches of false circumference to waist and hips.
Correction: Measure in basic undergarments or lightweight base layers.
Frequently Asked Questions
Why do different pattern brands have completely different sizing tables?
Unlike commercial retail brands that adapt sizes for marketing, sewing pattern publishers draft from proprietary slopers based on different demographic standards. Traditional commercial companies (like the Big 4) use historical sizing models, while independent indie designers often draft for different body shapes and height baselines.
How often should I retake my sewing measurements?
Retake your measurements every 3 to 6 months, or whenever embarking on a fitted garment project (like trousers, structured jackets, or fitted bodices). Minor shifts in posture, fitness, and bra styles affect fit.
What is wearing ease versus design ease?
Wearing ease is the minimum extra circumference required to breathe, walk, and sit comfortably (typically 2 to 3 inches in the bust and 1 to 2 inches in the waist for woven fabrics). Design ease is additional fullness added by the designer to achieve a specific style, such as an oversized peasant blouse or a cocoon coat.