How to Sew a Simple Fabric Tote Bag
A complete beginner tutorial for cutting, assembling, and reinforcing a classic flat-bottom canvas tote bag with durable Box-X handle stitching.
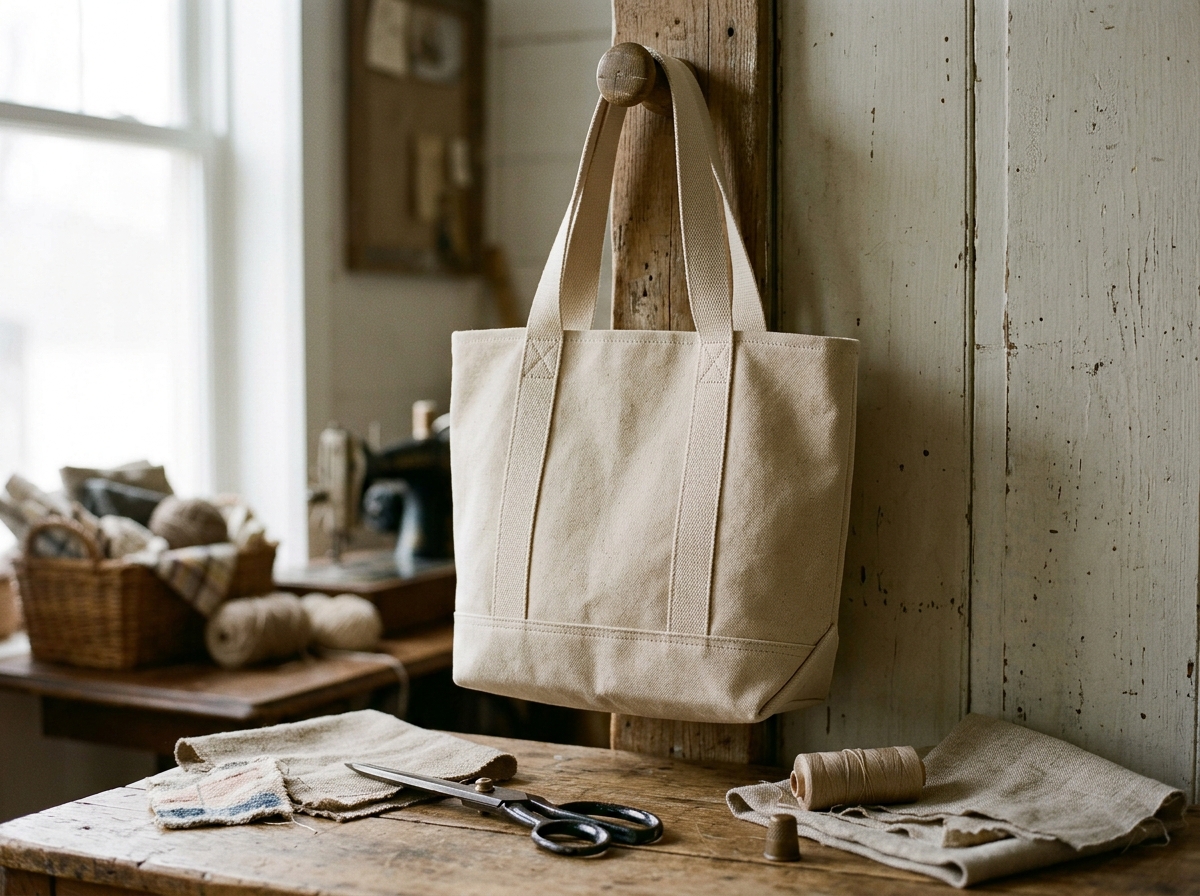
A custom fabric tote bag is widely considered the ideal project for anyone learning to sew. It involves straight stitching, accurate measuring, pressing, and basic geometric construction—producing a durable, practical accessory you can use for groceries, books, or craft supplies every day.
In this tutorial, you will construct a classic flat-bottom tote bag from sturdy cotton canvas. You will learn the exact geometry of boxed corners, how seam allowances affect finished dimensions, and how to finish the top hem with heavy-duty box-X stitching that safely carries daily items.
Materials Required
- Sturdy exterior fabric (canvas, duck cotton, or denim): 1/2 yard (45 cm) of 45" or 54" wide cotton canvas.
- Cotton webbing or matching fabric for handles: Two 28-inch (70 cm) lengths of 1" or 1.25" wide cotton webbing, or cut fabric strips.
- All-purpose or heavy-duty polyester thread: Matched to fabric or contrasting for decorative topstitching.
Tools Needed
- Sewing machine or hand needle & thimble: A sewing machine speeds up long seams, but this can also be hand-sewn using backstitch.
- Fabric shears and clear acrylic ruler: For cutting straight, 90-degree rectangular pieces.
- Steam iron & ironing board: Essential for crisp strap folds and professional top hems.
- Sewing pins or sewing clips: Clips are especially useful for thick canvas layers.
Step-by-Step Instructions
Construct the Fabric Shoulder Straps
If making fabric straps: Fold each strap strip lengthwise in half with wrong sides together and press. Open the strip, fold both long raw edges inward to meet at the center crease, and press again. Fold the strip in half along the original crease so the raw edges are fully enclosed. Topstitch 1/8 inch along both long edges. If using pre-made cotton webbing, simply cut your webbing to length.
Sew the Side and Bottom Seams
Place the two body panels right sides together, aligning all edges. Pin along the two long sides and the straight bottom edge (leave the corner cutouts open). Stitch the sides and bottom using a 1/2-inch (1.2 cm) seam allowance. Backstitch firmly at both ends.
Box the Bottom Corners
To give the tote a flat bottom, pinch one open bottom corner so the side seam aligns directly on top of the bottom seam. Flatten the fabric into a straight horizontal line. Pin securely. Stitch straight across with a 1/2-inch seam allowance, backstitching at both ends. Repeat on the other corner.
Press the Top Hem Allowance
With the tote still inside out, fold the top raw edge down toward the inside by 1/2 inch and press. Next, fold it down another 1 inch to fully enclose the raw edge. Press firmly with steam around the entire rim.
Position and Pin the Straps
Measure 3.5 inches inward from each side seam along the top opening. Tuck the ends of the straps roughly 1 inch up under the folded hem, making sure the straps are not twisted. Pin each strap end securely in place.
Stitch the Top Hem and Reinforce with Box-X
Stitch 1/8 inch from the lower fold of the hem around the entire top circumference. Next, fold the straps upward toward the top of the bag and topstitch 1/8 inch from the upper rim. Over each strap anchor, stitch a 1-inch square with an "X" through the center to distribute weight.
Common Mistakes & Solutions
Forgetting to backstitch at the start and end of seams
Why it happens: The seams quickly pull apart when loaded with everyday items.
Correction: Always backstitch 3 to 4 stitches at every seam start and stop.
Twisting the handles when pinning under the hem
Why it happens: The strap remains twisted permanently across your shoulder, causing discomfort.
Correction: Lay the bag flat and run your fingers along the strap to ensure it lies completely flat before pinning.
Using delicate lightweight thread for heavy canvas seams
Why it happens: Thread snaps under load even though the canvas fabric remains intact.
Correction: Use quality polyester all-purpose or heavy-duty topstitching thread.
Frequently Asked Questions
What is the best weight fabric for a sturdy everyday tote bag?
Medium to heavy cotton canvas (7 oz to 10 oz weight), cotton duck, denim, or heavy linen work best. They provide enough body to stand up on their own without needing extra interfacing.
Can I add an interior pocket to this simple tote bag?
Yes! Before sewing the two body panels together, cut a 7x8 inch rectangle, hem the top edge, and stitch it onto the right side of one body panel centered 3 inches below the top edge.
How do I wash a handmade canvas tote bag?
Hand wash in cold water or machine wash on a gentle cycle, then reshape while damp and hang to air dry. Avoid high-heat tumble dryers to prevent canvas shrinkage and wrinkled seams.